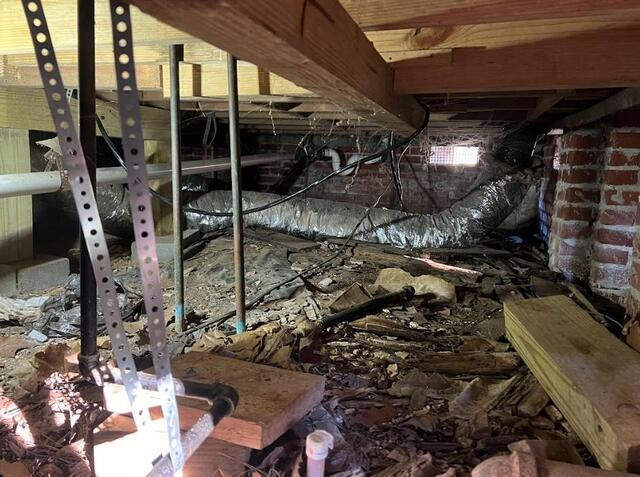
Jackson Crawl Space Before - 1
The crawl space we first entered into was quite a mess! The junk will be removed, but taking care of the moisture that is affecting their floors is the #1 priority.
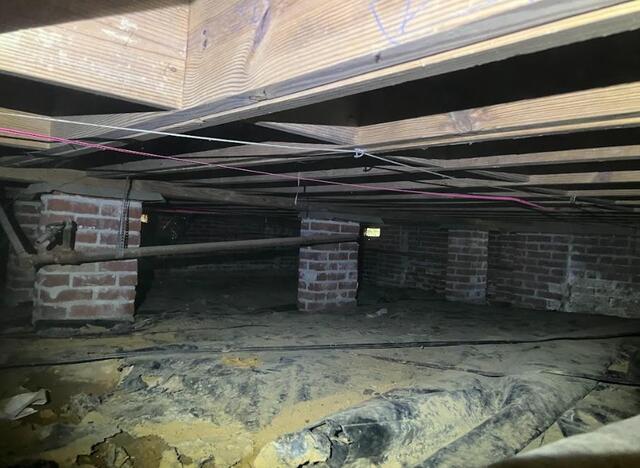
Jackson Crawl Space Before - 2
In this photo you can see the remnants of the original vapor barrier the homeowners had put down. We found plenty of tears in it and evidence that moisture had gotten through anyways.
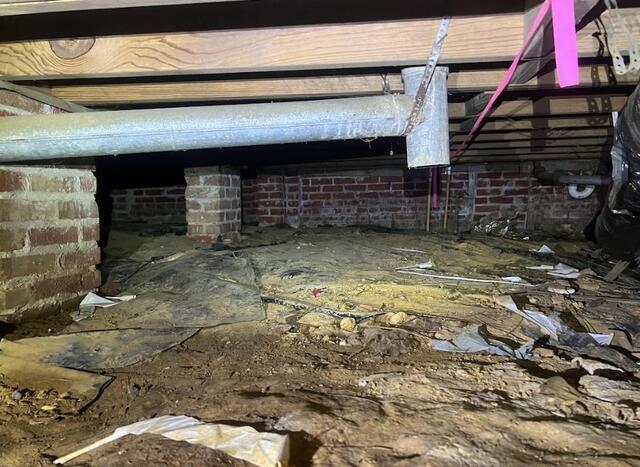
Jackson Crawl Space Before - 3
Here the old liner pulled itself away and left a very large exposed spot of the crawl space.
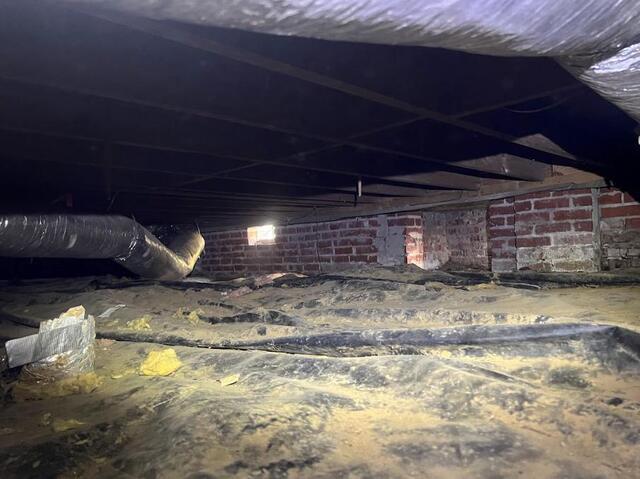
Jackson Crawl Space Before - 4
Another shot of the crawl space before our work, and how much mud had been tracked onto the original liner.
Jackson Crawl Space Before - 5
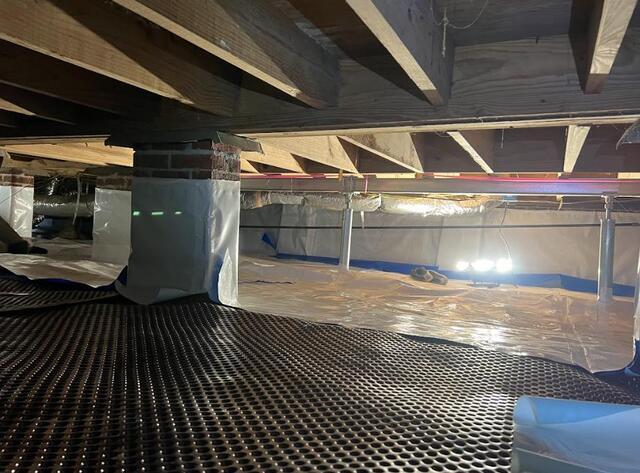
Here is a picture taken in the middle of the encapsulation process, you can catch a peek at our drainage matting that goes under our CleanSpace Liner. It is used to help block and direct moisture toward our sump pump system.
Jackson Crawl Space After - 1
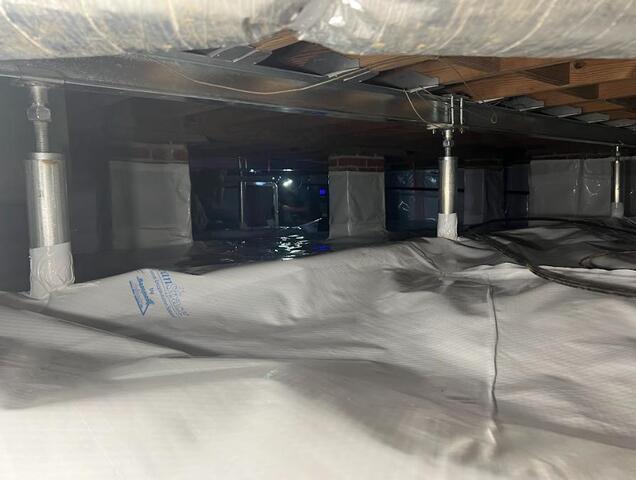
Here is a picture taken after all of our work was installed. Our CleanSpace Liner is a major upgrade over what was originally on the ground. You can also see our installed SmartJacks.
Jackson Crawl Space After - 2
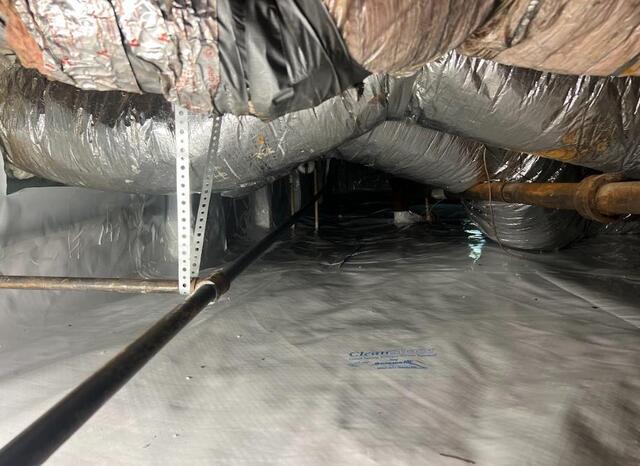
Our liner reaches all parts of the crawl space, even around and under pipes and ductwork.
Jackson Crawl Space After - 3
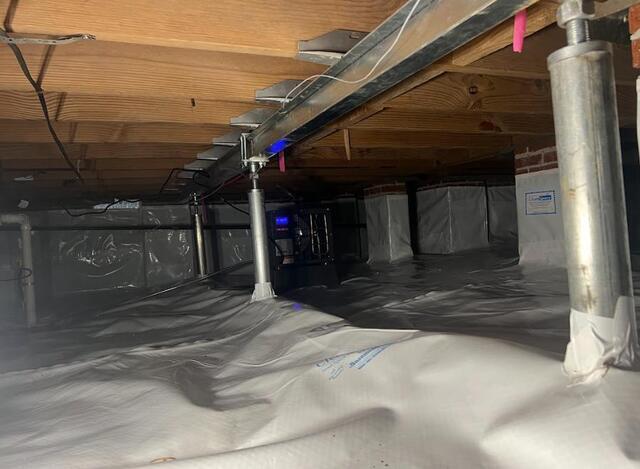
Another shot of the finished encapsulation, with a look at our crawl space dehumidifier! This will be regulating the humidity in the crawl space in the most efficient way possible.
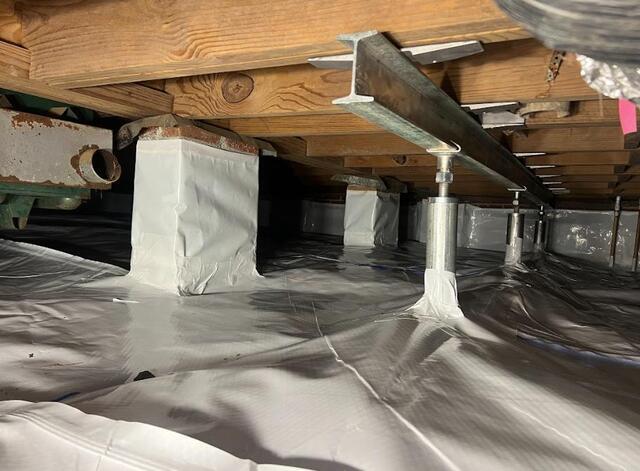
Jackson Crawl Space After - 4
Another shot of the finished encapsulation, offering another look at our SmartJacks. Each one can be adjusted to match the home's future slightest movements!
