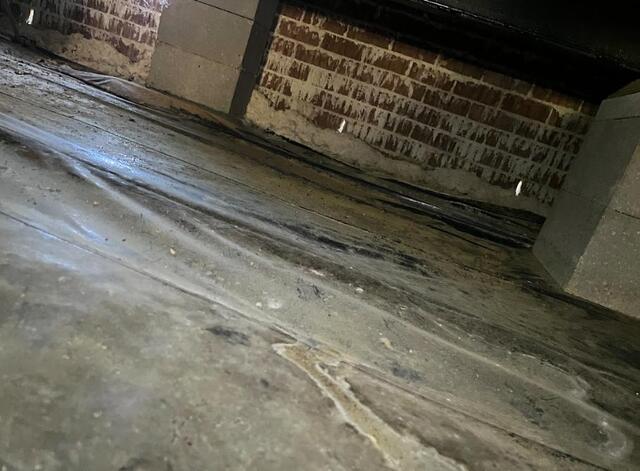
Raymond Encapsulation Before 1
The old vapor barrier covers the ground, but was filthy, wet, and had multiple tears.
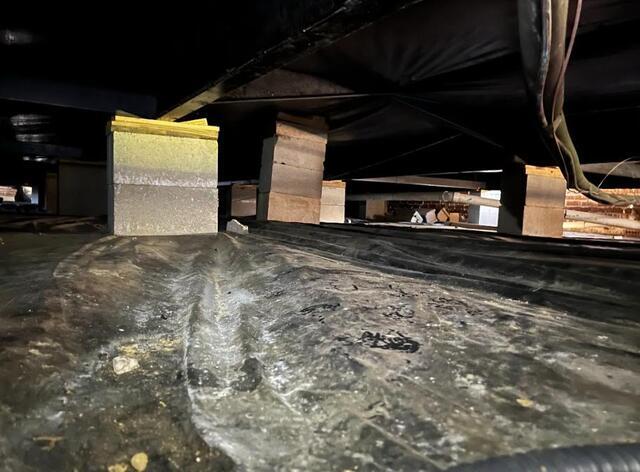
Raymond Encapsulation Before 2
The old vapor barrier also did not help in sealing off the crawl space, supports and walls were left fully exposed.
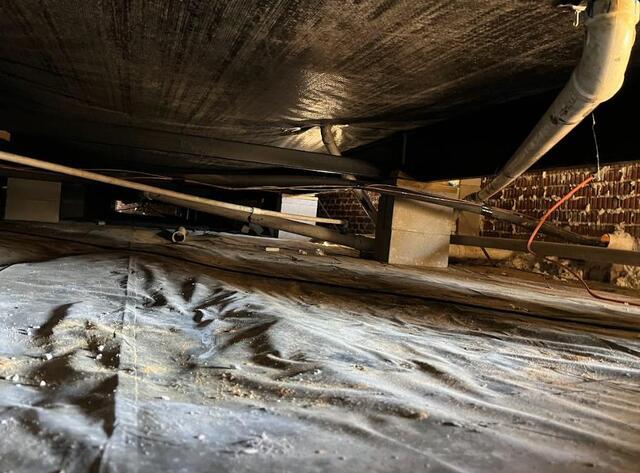
Raymond Encapsulation Before 3
The moisture found throughout the crawl space was a clear sign that more protection would be needed than this simple barrier.
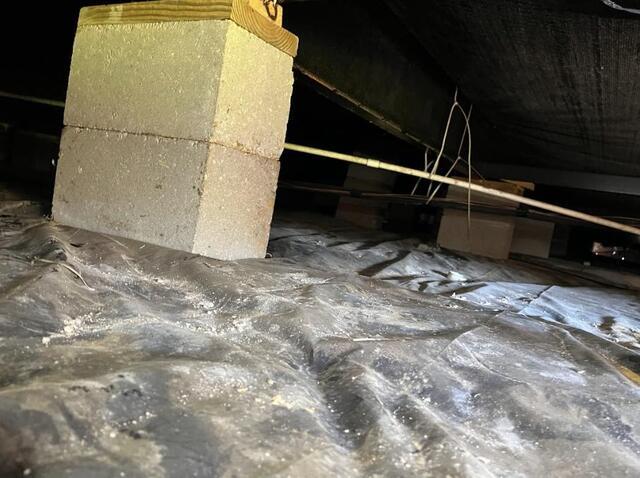
Raymond Encapsulation Before 4
Another shot of the crawl space before we stepped in.
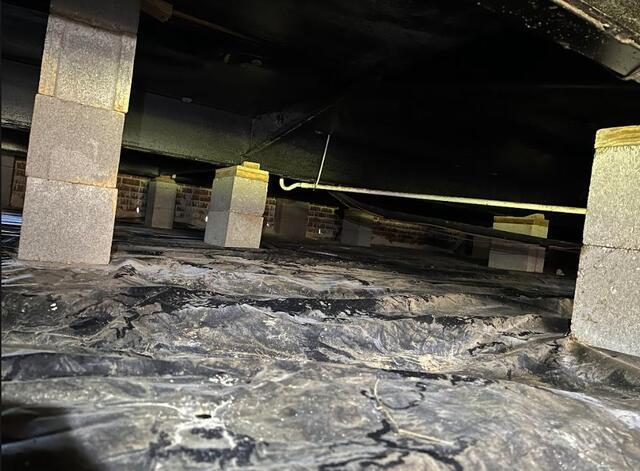
Raymond Encapsulation Before 1
Wet spots can be seen on top of the liner.
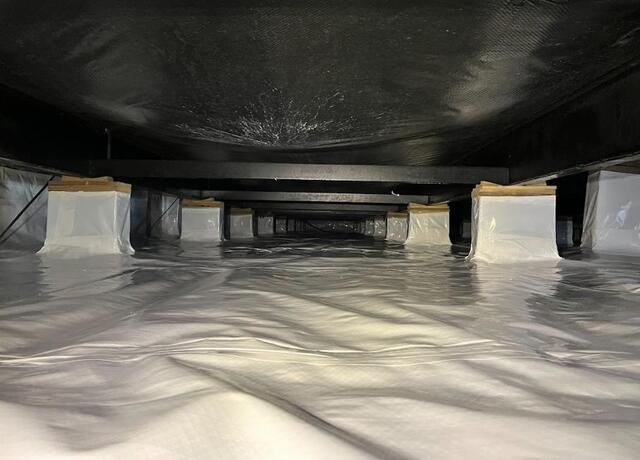
Raymond Encapsulation After 1
Our CleanSpace Liner has replaced the old vapor barrier and now covers not only the floor of the crawl space, but the supports and walls as well.
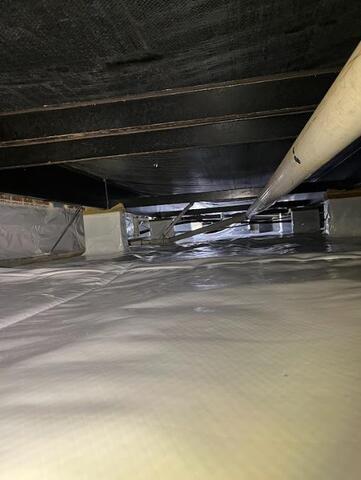
Raymond Encapsulation After 2
Around pipes and other obstacles in the crawl space, our liner has been carefully secured to cover every spot.
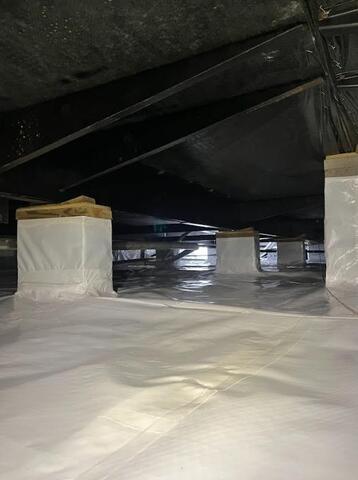
Raymond Encapsulation After 3
The crawl space has been completely sealed to keep out outside air and humidity, even the small opening you see will be covered by out removable, air-tight crawl space door.
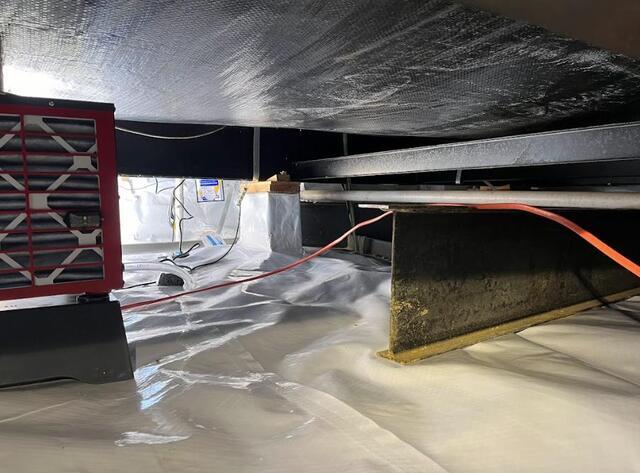
Raymond Encapsulation After 4
This photo features both our crawl space dehumidifier and sump pump system, both vital parts of the encapsulation system and very important for combatting water and humidity.
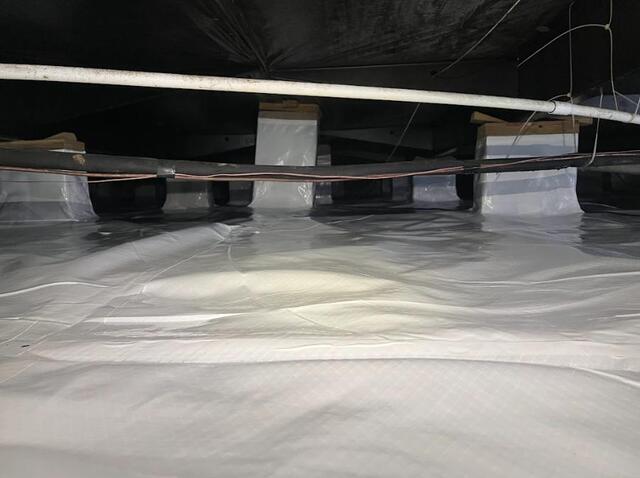
Raymond Encapsulation After 5
One last shot of the finished crawl space, even the homeowners felt comfortable going under the home to crawl and take a look at this new, bright space.
