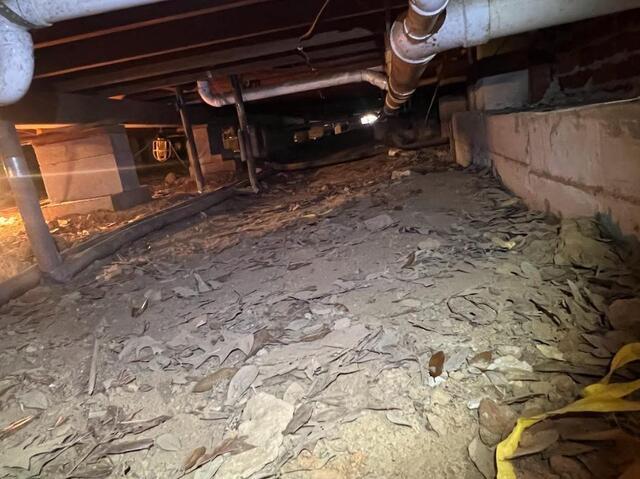
Centreville Crawl Space Before
All of these leaves show how exposed this crawl space was, letting in plenty of humid outside air.
Centreville Crawl Space Before
Another shot of the crawl space before the encapsulation. You can see the remains of the old vapor barrier that wasn't able to do its job.
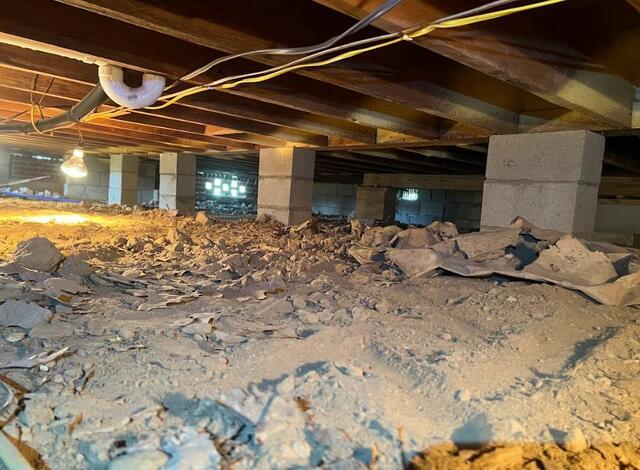
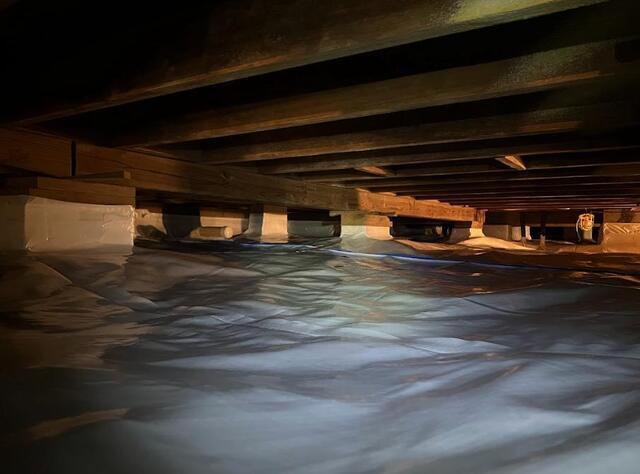
Centreville Crawl Space Before
The floors, walls, and supports of the crawl space had been left exposed for years leaving multiple different ways for moisture to seep in.
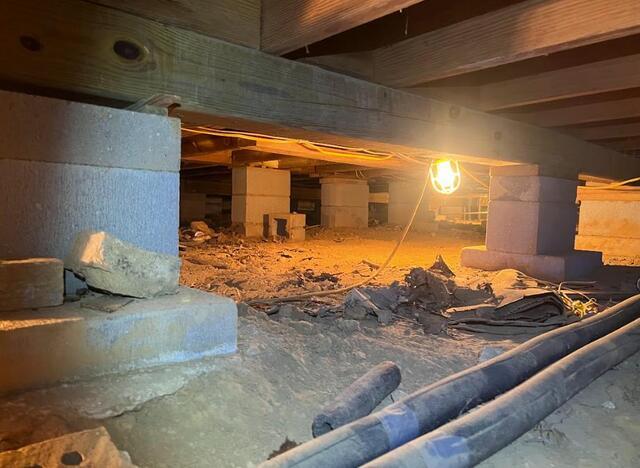
Centreville Crawl Space Before
Another shot of the crawl space we originally came across.
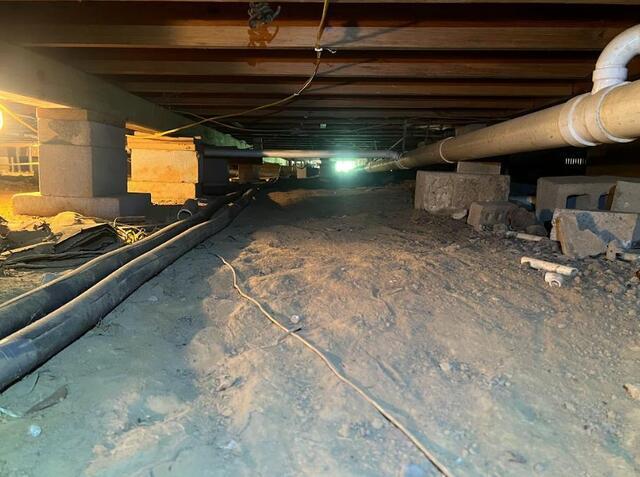
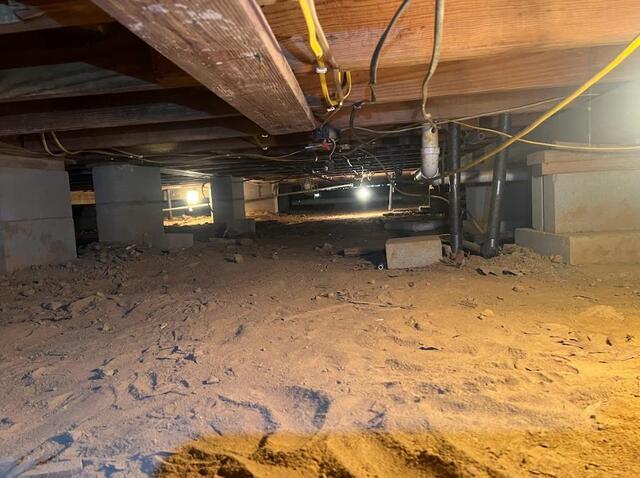
Centreville Crawl Space Before
Not the messiest crawl space we've come across, but there was some clean up to do before we could get started.
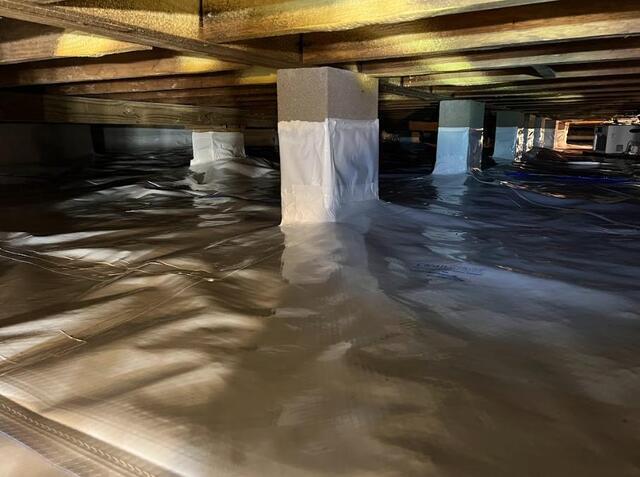
Centreville Crawl Space After
The once exposed ground and supports have been completely covered by our durable CleanSpace Liner!
Centreville Crawl Space After
Replacing the old, torn vapor barrier, our CleanSpace Liner will offer a much more permanent solution, while also tackling moisture seepage from multiple different angles.
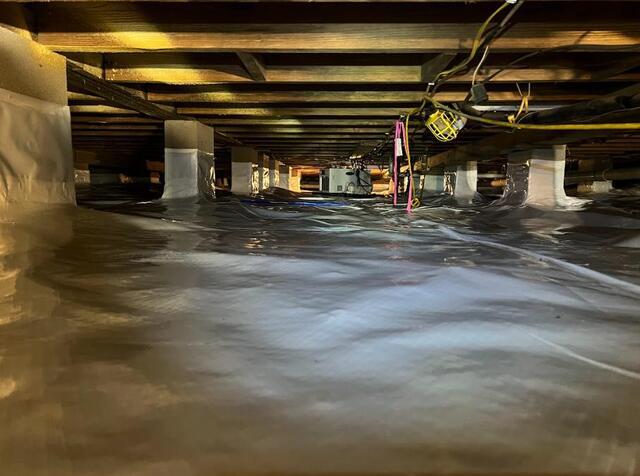
Centreville Crawl Space After
In this photo you can clearly see our Liner, but also catch a glimpse of the installed crawl space dehumidifier.
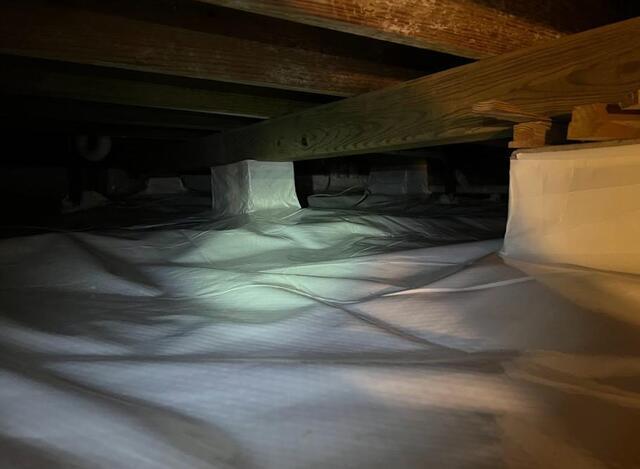
Centreville Crawl Space After
Another shot of the clean crawl space after a finished job well done.
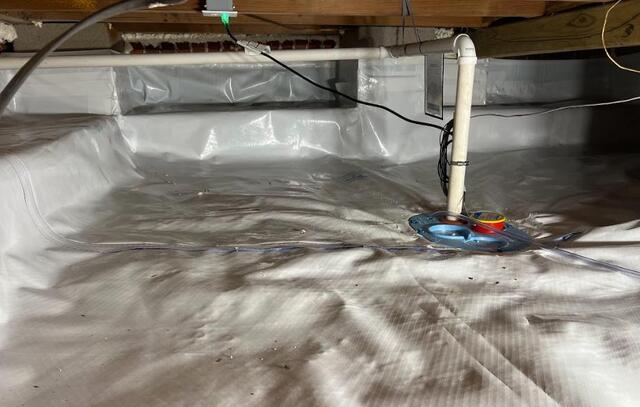
Centreville Crawl Space After
A great shot featuring our CleanSpace Liner carefully being secured around odd angles in the crawl space, but also our sump pump system!
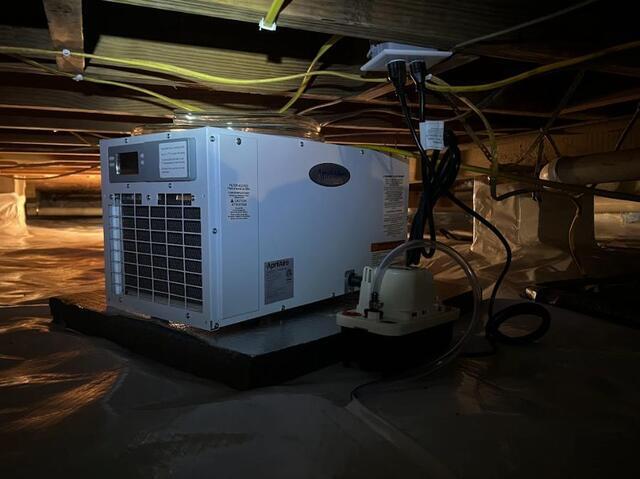
Centreville Crawl Space After
A closer shot of the efficient crawl space dehumidifier that will be working to keep this crawl space at a safe humidity level.
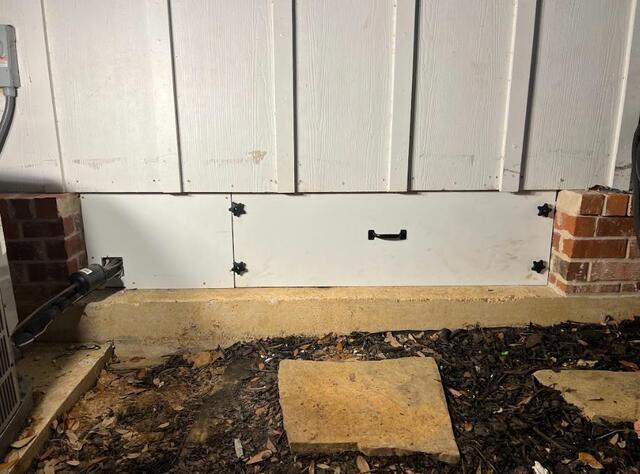
Centreville Crawl Space After
The airtight, but easily removable crawl space access door we built.
